


 Austrian Heavy Cavalry and Infantry form the left flank of the army.
 Austrian Hussars and Dragoons form the extreme left wing of battle line.
 A Heavy Battery, Austrian Grenadiers and Saxon Infantry form in the center.
 The right flanks consists of another Heavy Battery, Hungarian Line, and Grenzers. The Battle Plan is to advance the cavalry, refuse the left flank, and attack in the center and on the right flank.
 The Austrian Cavalry advanced as planned, but at an irregular pace. The Prussian Cuirassier took advantage of the Austrians disarray and pounced on the Dragoons.
 After several charges and counter-charges, the Austrians were pushed back with heavy losses.
 The Austrian left flank were forced to rotate to the left to avoid being rolled up by the victorious Prussian Cuirassiers.
 In the center, the Austrian Grenadiers and Saxons steadily marched toward the Prussian Infantry who had taken refuge behind a small hill to avoid an artillery bombardment.
 On the right flank the artillery continually bombarded the village on Badberg, while the Hungarians and Grenzers slowly advanced.
 A final assault by the Prussian Cuirassier put the Austrian Hussars and Dragoons to flight. Unfortunately, the Cuirassiers were blown and unable to advance or retreat. This provided the Austrian infantry a chance to fire devastating volleys into the hapless Cuirassiers forcing them to retire from the battle.
 In the center, the Austrian Grenadiers were able to destroy two Prussian Infantry units, while the Saxons were able to out shoot their Prussian counterparts.
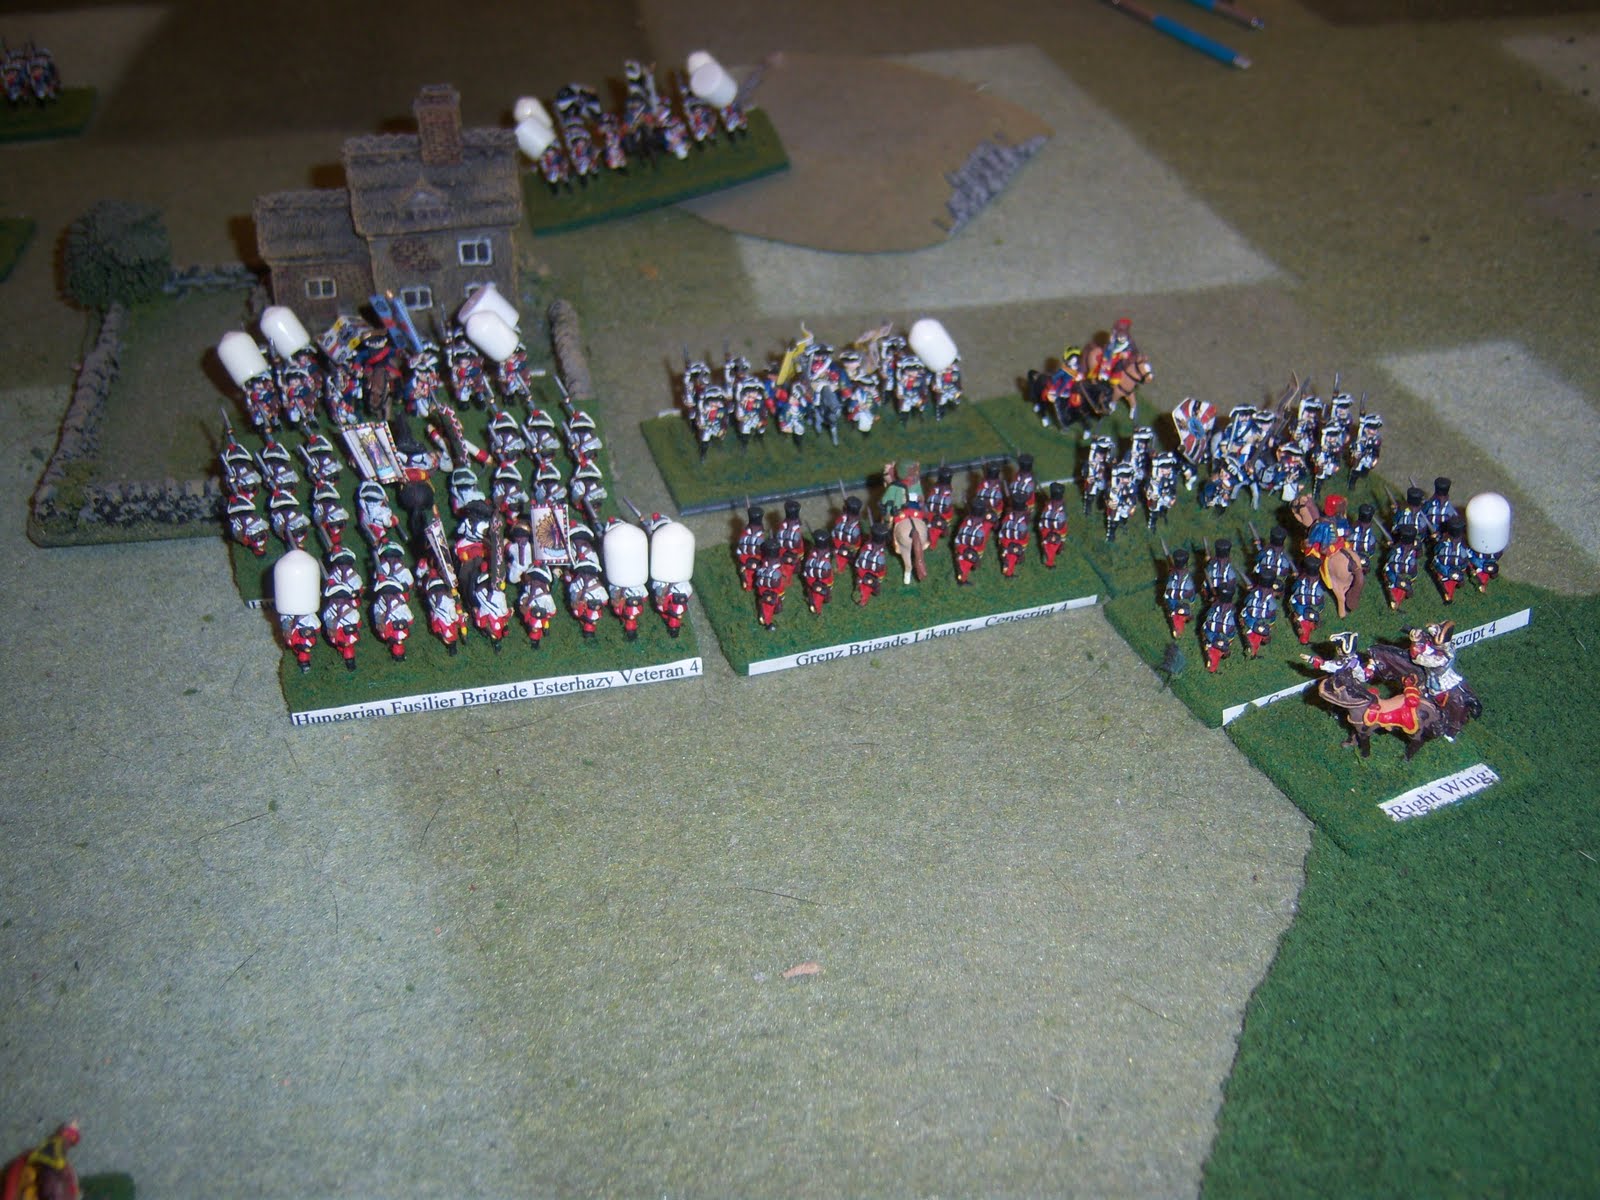 On the right, the Austrian Artillery pounded away at Badberg seriously damaging two Prussian Infantry unit in turn. A final assault by the Hungarians forced the Prussians to surrender the village. The extreme right Grenzers were forced to fall back after a vicious assault by the Prussian.
 A better view of the Austrian right flank.
 In the center, the Austrian Grenadiers and their Saxon allies were successful in forcing the crippled Prussians to rout.


